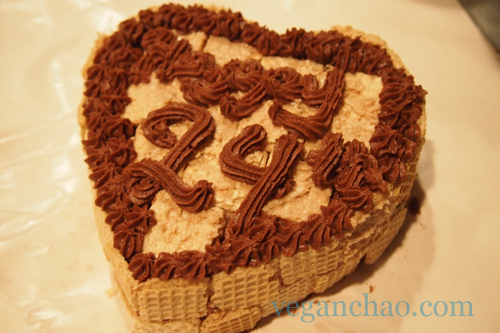
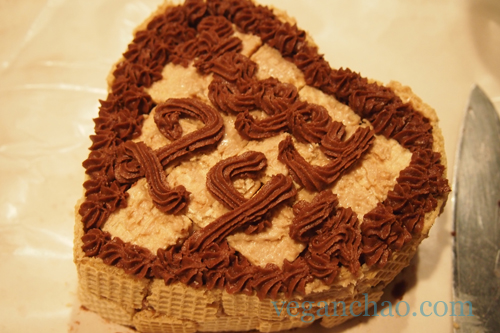
I’ve always been a proponent of making my own birthday cakes… why pay for an expensive, store-bought confection that’s not even fresh when you can make your own delectable desserts? So of course, I opted to create a chocolate cake encased in hazelnut wafers for Ray’s birthday.
I love this recipe from The Joy of Vegan Baking because it’s super versatile: you can make a bundt cake, cupcakes, flat cake, pretty much any shape you desire, with ease. Not to mention how easy it is to prepare!
If you’re planning to make frosting, you should leave out the shortening now so it has some time to soften. Scroll down for the icing recipe!
Chocolate Cake Recipe:
Ingredients
- 1-1/2 cups (188 g) unbleached all-purpose flour
- 3/4 cup (150 g) granulated sugar
- 1/2 teaspoon salt
- 1 teaspoon baking soda
- 1/4 cup (30 g) unsweetened cocoa powder (I personally love to use Dutch, as it makes for a rich chocolate-y taste!)
- 1-1/2 teaspoons vanilla extract
- 1/3 cup (80 ml) canola oil
- 1 tablespoon white distilled vinegar
- 1 cup (235 ml) cold water
Serving Suggestions and Variations: Add a teaspoon of cayenne pepper or a teaspoon of chili powder for a ‘Mexican Chocolate Cake.’
Yield: One 9-inch cake (23-cm) or 8 cupcakes. Double the recipe for a layer cake or a bundt cake.
Directions
Mix together your flour, sugar, salt, baking soda, and cocoa powder in a bowl with a wooden spoon.
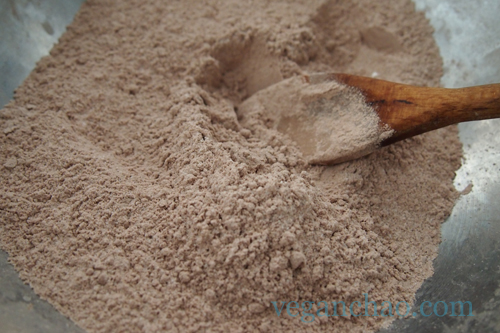
Now combine your vanilla, oil, vinegar and water together in a separate bowl/container. At this point, you should preheat your oven to 350° F (180° C or gas mark 4). Create a well in the center of your dry ingredients, and pour the wet mix in the center.
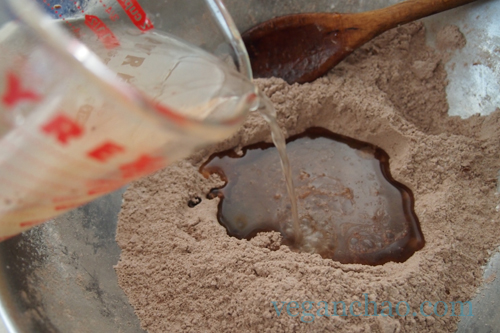
Mix your dry and wet ingredients together until just combined. Be sure not to overmix, as this creates a chewy, tough texture!

Pour into your prepared pan, and bake in the preheated oven for 30 minutes, until a toothpick inserted in center comes out clean.
If making cupcakes, check for doneness after 15 minutes.
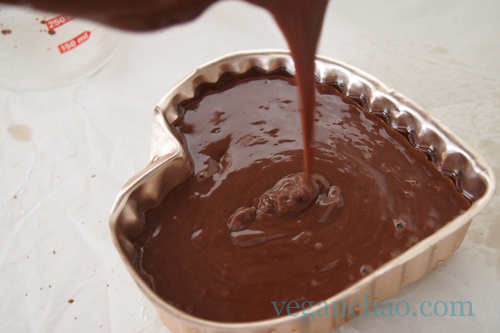
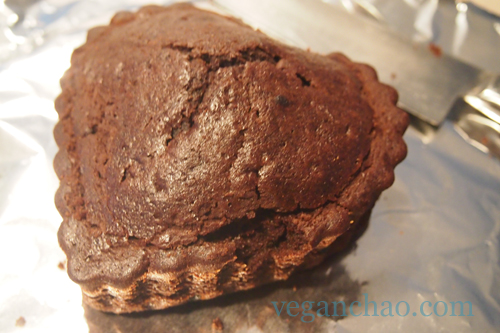
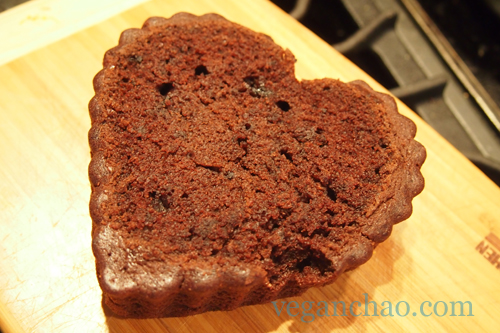
Cool your cake a wire rack and make sure it is completely cool before applying icings. To remove the cake from the pan, run a sharp knife around the inside of the pan to loosen the cake.
I cut the top off my cake for icing even-ess, but that’s my own personal preference (plus I get to eat the top :) ). I had enough batter left over for another small cake of my own!
Chocolate Icing:
Ingredients
- 1/2 cup (112 g) Earth Balance, softened
- 3 cups (300 g) powdered (confectioner’s) sugar, sifted
- 1/3 (42 g) cup cocoa, sifted
- 1 teaspoon vanilla or 1/2 teaspoon peppermint extract
- 3-4 tablespoons (45 to 60) water or nondairy milk
With an electric hand mixer, cream the butter until smooth.

With the mixer on low speed, add the sugar and beat for about 2 minutes. Add the rest of the ingredients, and turn the mixer to high speed once all the ingredients are relatively well-combined (I put a touch of peppermint extract for a little kick!). Beat on high speed until frosting is light and fluffy (about 3 minutes). Add l or 2 tablespoons more milk if it’s too dry.
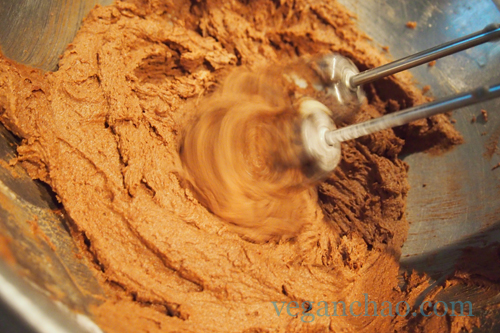
Cover the icing with plastic wrap to prevent drying until ready to use. Store it in a covered container in the refrigerator for up to 2 weeks. Re-whip before using.
Now comes the fun part: putting the icing on! I used this cake decorating kit, which I typically don’t like to use because it wastes a lot of frosting, but since it was for a special occasion, what the heck.
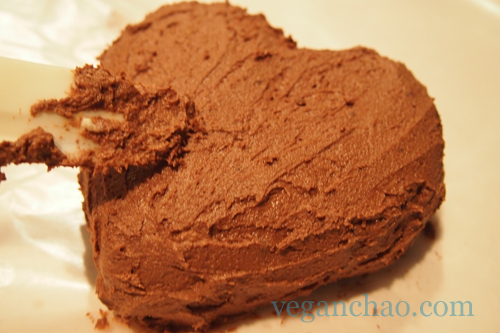
I then covered the cake with cut Manamim hazelnut wafers, which you can pick up at Kosher specialty shops and topped it off with the final flourishes: some piped florettes and writing!
So what are you waiting for? Make that cake and blog about it like me! With a recipe this easy, you’d be silly not to. :)
